Call Now 9702 5060 OR 0412 674 446
Fully insured 5-star vehicles
Learn to drive safely and in style with our fully insured 5-star vehicles. Our experienced instructors provide personalized instruction, while our top-rated vehicles ensure your comfort and peace of mind. Become a responsible driver with us. Enroll now and start your journey on the road to success.
Contact Us
Phone: 1300 782 909
Phone: 9702 5060
Mobile: 0412 674 446
Hours of Operation
Open 7 Days A Week
(Mon- Sun) (7 am – 9 pm)
25+
Years in the business
150k+
DRIVER TRAINED
27+
bEST Driving Instructors
98%+
FIRST TIME PASSING RATIO
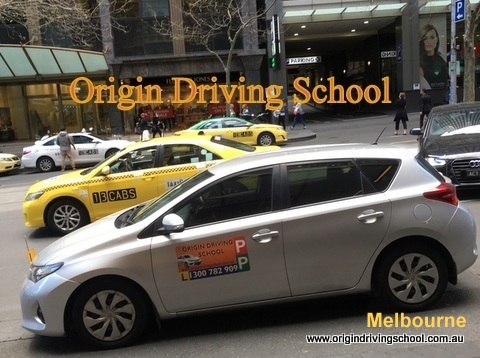
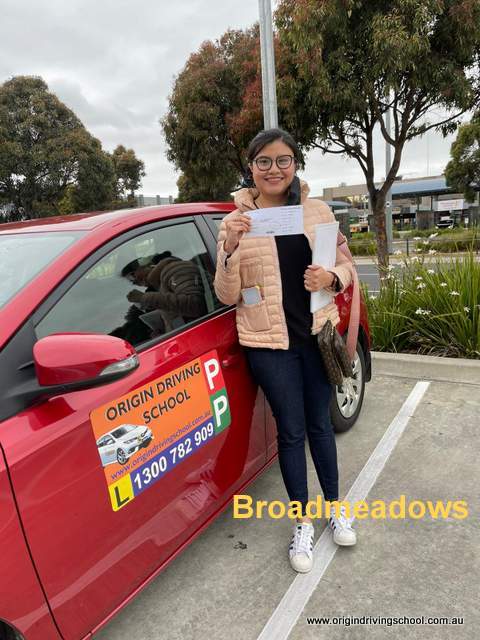
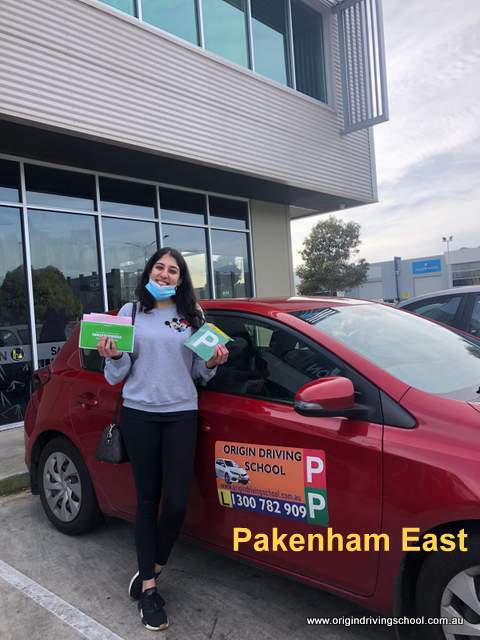
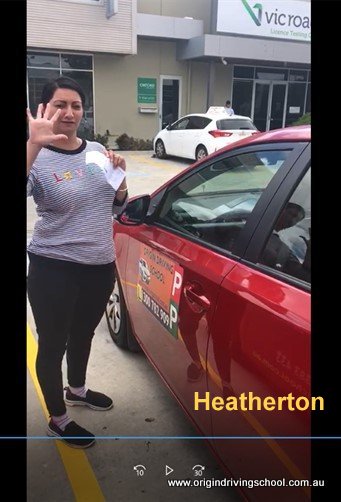
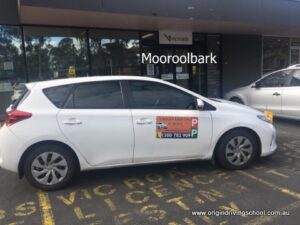
Origin Driving School Instructors Car Gallery – We Provide Driver training Modern and Latest model car


Our Service Areas & Drive Test Centres
Inner
Western
Northern
Eastern
Southern
Test Centres
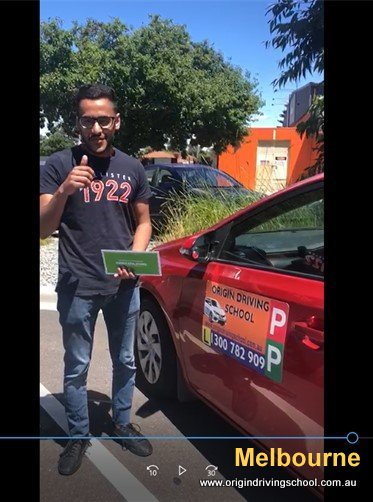
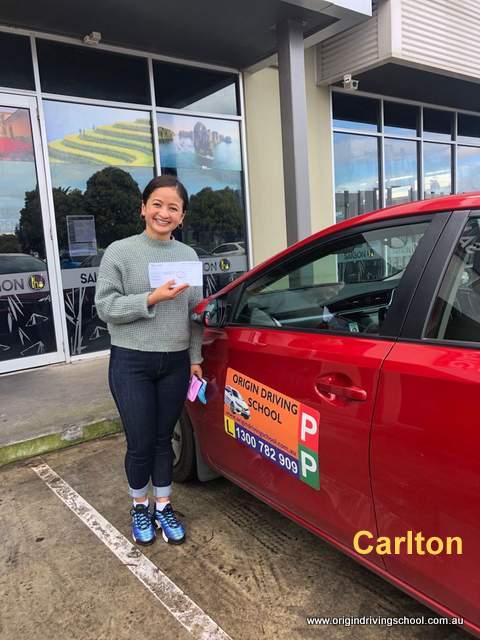
Pass Your Driving Test First Time
I feel so great that finally I can drive alone thank you so much Origin Driving School for showing me how to drive properly for teaching me everything that I need to know about the idea of driving. I give origin driving school a 10/10.
https://youtu.be/nCXxgxGLtUE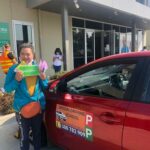
Affordable Driving Lesson Prices
I feel really happy because I can drive wherever I want to without relying on my parents. I found the lessons helpful, and the instructor was extremely nice. I was nervous but now I’m over the moon that I can drive solo now.
https://youtu.be/7ztrHJTDCBg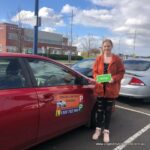
Origin Driving School is awesome, and I show my gratitude to Origin Driving School for helping me to get my driving licence. I am very happy with the service Origin Driving School has given and give a 5/5 stars.
https://youtu.be/OIKM-HlE8Ek